Deploying Tailscale automatically to new Proxmox VMs
Since I started using Proxmox and Tailscale as part of my homelab, one issue I always seemed to face due to lack of posts regarding it, or uninformative posts regarding how to get a “botched result”.
- First, deploying VMs while also having the hostname be matching with what is set in Proxmox.
- Second, having Tailscale be installed automatically with any packages that I may need.
An example of this is the Proxmox Cloud-Init Documentation. This documentation while it covers how you can get started, it doesn’t talk about the issues that you may face.
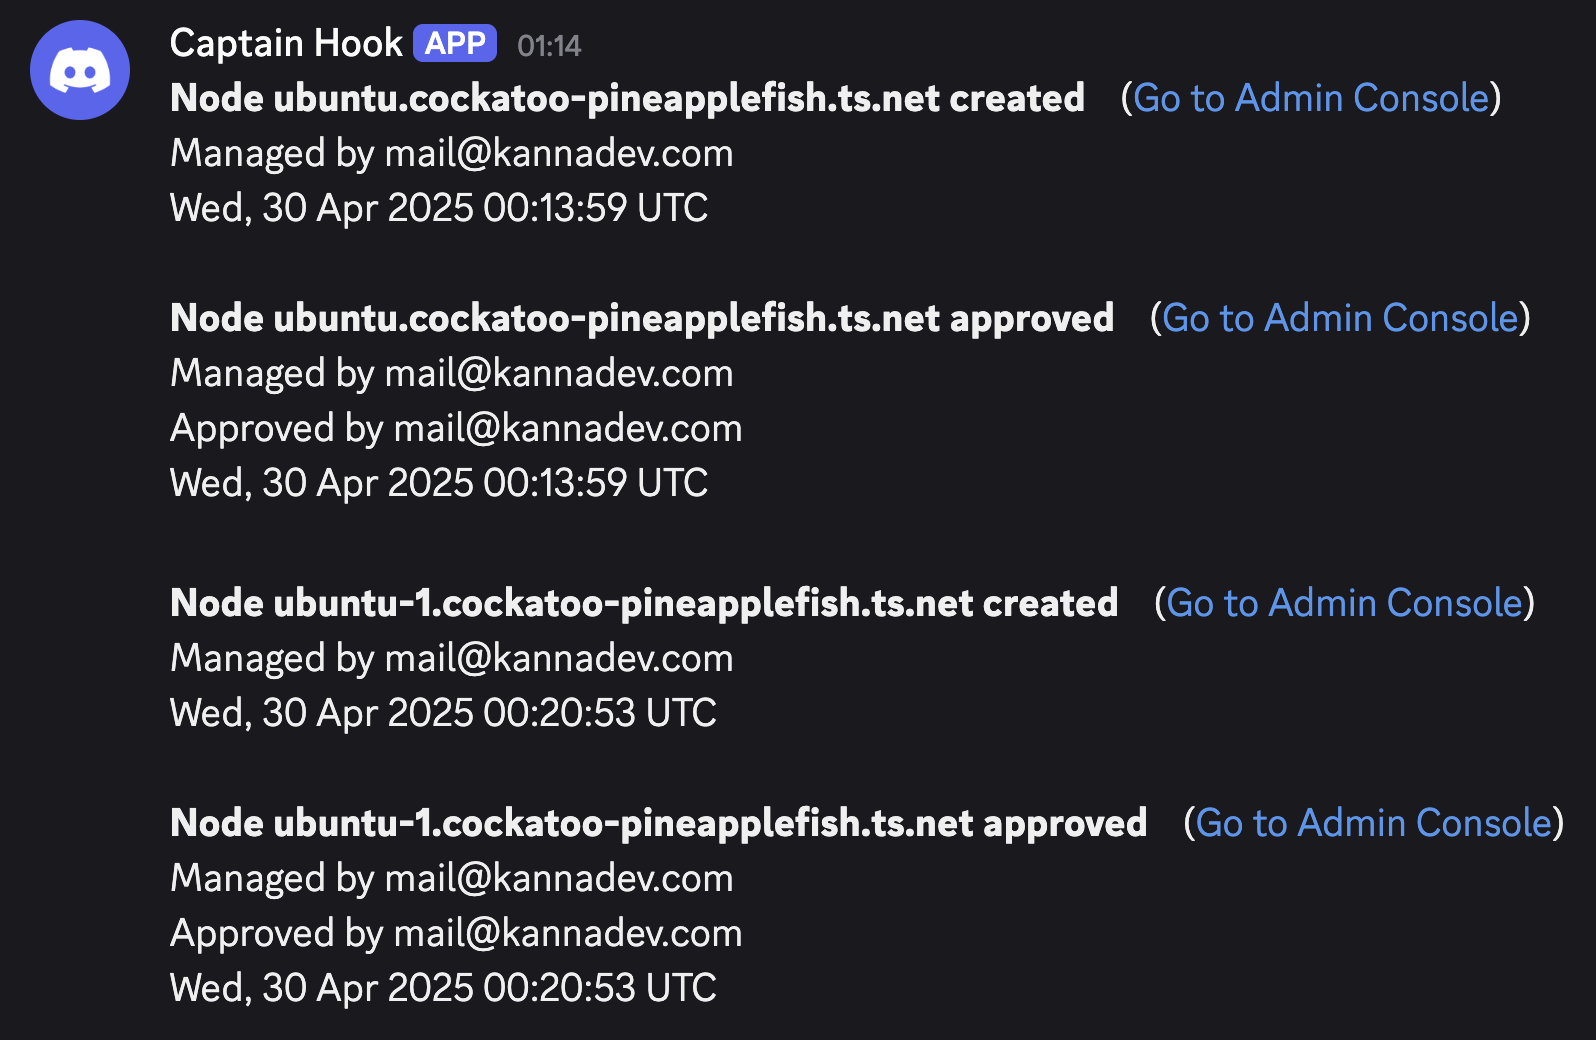
For instance when you deploy a host using their base Cloud-Init, and even when you may modify it, or remove certain parts. you’ll still end up with the default hostname “ubuntu”, or the one that is specified in the config.
This ends up causing issues as you’ll have all your hosts being called the exact same, and when they login to Tailscale, you’ll end up with names like “ubuntu-1”, “ubuntu-2”, etc.
 So, how do we solve this?
What is Tailscale?
To solve this, it’s important to first explain what Tailscale is. Tailscale is a mesh VPN that allows you to easily access the services that you have in your homelab in a secure, and simple way.
Using Tailscale has simplified setting up new hosts, and VMs by easily being able to connect to them remotely and use ACL’s to configure based on tags that each device has. And the main benefit I’ve found is that it’s fast and works on all the devices which I had, such as my OPNsense firewall, my Proxmox host, and all other devices (too many…).
Tailscale has integrated nicely with my existing Microsoft 365, keeping authentication very simple.
For these reasons, I can recommend Tailscale to anyone who is looking to have a simple VPN that can provide access to their services.
Disclaimer: I am a Tailscale insider. This post reflects my personal experience and opinions.
Deploying an Ubuntu 24.04 Template with Tailscale and Guest Agent
To begin with, we’re going to run the following commands on our Proxmox host:
(Some commands are taken from the Proxmox Wiki)
Important Note: Make sure you modify the settings in the commands below to your liking. In my case I use vmbr2.
# Download the Cloud Image for Ubuntu 24.04
wget https://cloud-images.ubuntu.com/noble/current/noble-server-cloudimg-amd64.img
# Setup Base Configuration
qm create 9000 --memory 2048 --net0 virtio,bridge=vmbr2 --scsihw virtio-scsi-pci
qm set 9000 --scsi0 local-lvm:0,import-from=/root/noble-server-cloudimg-amd64.img # If installed in a different directory change it here.
qm set 9000 --ide2 local-lvm:cloudinit
qm set 9000 --boot order=scsi0
qm set 9000 --serial0 socket --vga serial0
# Turn the VM into a template
qm template 9000
The commands above are from the Proxmox Wiki, and will provide us with a template on our Proxmox host which we’re going to use as the base.
Now, it’s time to configure the template with our settings in the Proxmox Web Interface.
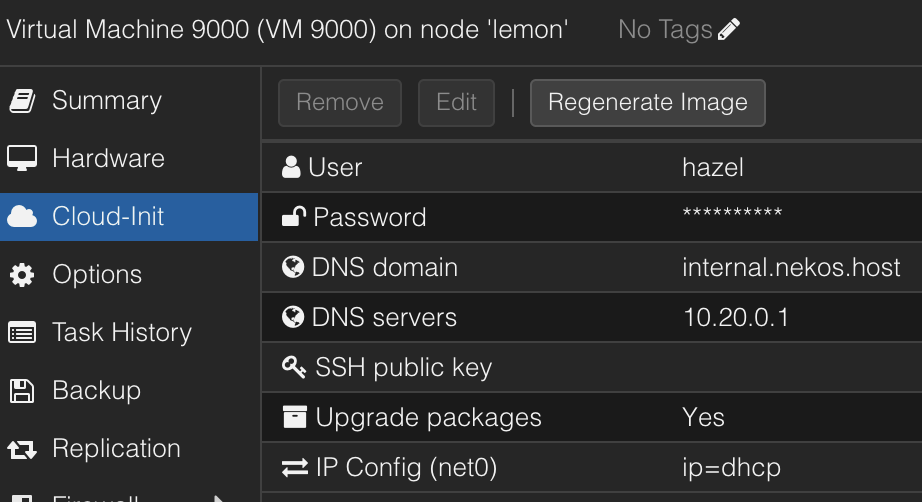
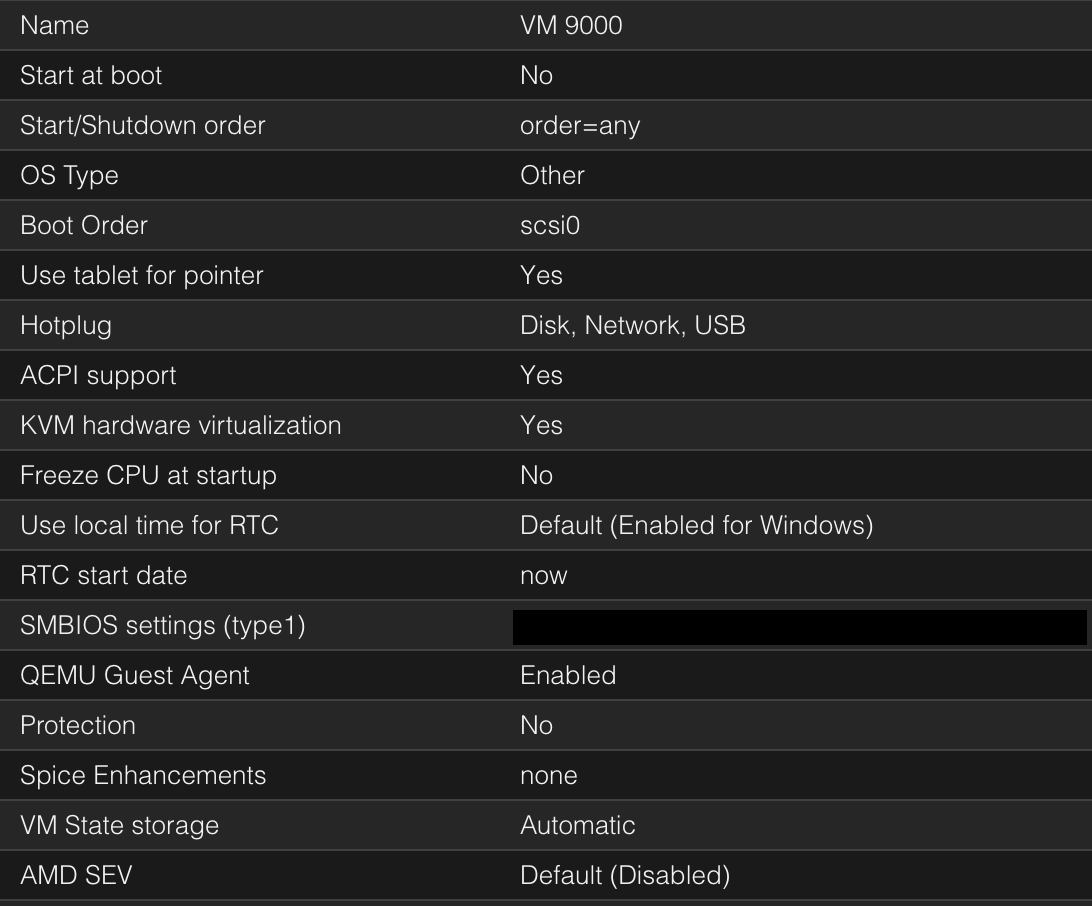
I have gone ahead and added my username, password, SSH Public Key and setup the IP and DNS settings for networking. Along with this, you’ll also need to enable the QEMU Guest Agent from the Options tab in the Proxmox UI.
Once we have finished with this, it’s time to apply the Cloud-Init configuration to install qemu-guest-agent and enable it, and install and setup Tailscale.
To do this, we will use the following config.
In the following directory, we’re going to make the following file:
/var/lib/vz/snippets/final.yaml with the following contents.
#cloud-config
packages:
  - qemu-guest-agent
runcmd:
  - systemctl enable qemu-guest-agent
  - systemctl start qemu-guest-agent
  - systemctl restart systemd-sysctl
  # One-command install, from https://tailscale.com/download/
  - ['sh', '-c', 'curl -fsSL https://tailscale.com/install.sh | sh']
  # Set sysctl settings for IP forwarding (useful when configuring an exit node)
  - ['sh', '-c', "echo 'net.ipv4.ip_forward = 1' | sudo tee -a /etc/sysctl.d/99-tailscale.conf && echo 'net.ipv6.conf.all.forwarding = 1' | sudo tee -a /etc/sysctl.d/99-tailscale.conf && sudo sysctl -p /etc/sysctl.d/99-tailscale.conf" ]
  # Generate an auth key from your Admin console
  # https://login.tailscale.com/admin/settings/keys
  # and replace the placeholder below
  - ['tailscale', 'up', '--auth-key=authkey']
  # (Optional) Include this line to make this node available over Tailscale SSH
  - ['tailscale', 'set', '--ssh']
  # (Optional) Include this line to configure this machine as an exit node
  - ['tailscale', 'set', '--advertise-exit-node']
write_files:
  - path: /etc/sysctl.d/10-disable-ipv6.conf
    permissions: 0644
    owner: root
    content: |
      net.ipv6.conf.eth0.disable_ipv6 = 1
This config uses a part of what is provided on the Tailscale website.
Ensure you modify the “authkey” in the
.yamlwith your Tailscale auth key, you can make this here. You also need to make this key reusable so you do not need to update it after usage.
Now that that’s done, it’s time to run the final command and use the template.
qm set 9000 --cicustom "vendor=local:snippets/final.yaml"
This command will set the file we have created as the vendor, and will tell it to install qemu-guest-agent, and install Tailscale and login.
Creating the VM
Last of all, for us to create the VM we’re going to go to our Proxmox Web UI, right click the template and select clone.
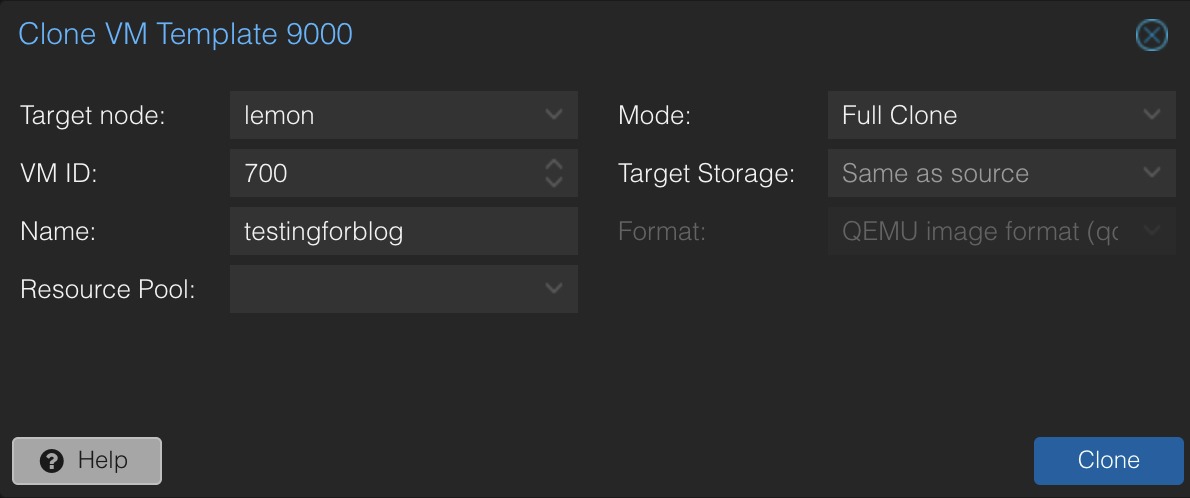
We will full clone so if we ever delete the template, it won’t break our existing VMs. Once it’s done cloning, you can go ahead and click “Start” on the cloned VM.

If you see on the login prompt it displays the VM name as defined in Proxmox, you’ve done it! Now all you need to do is wait for Tailscale to install in the background (which may take up to five minutes.)
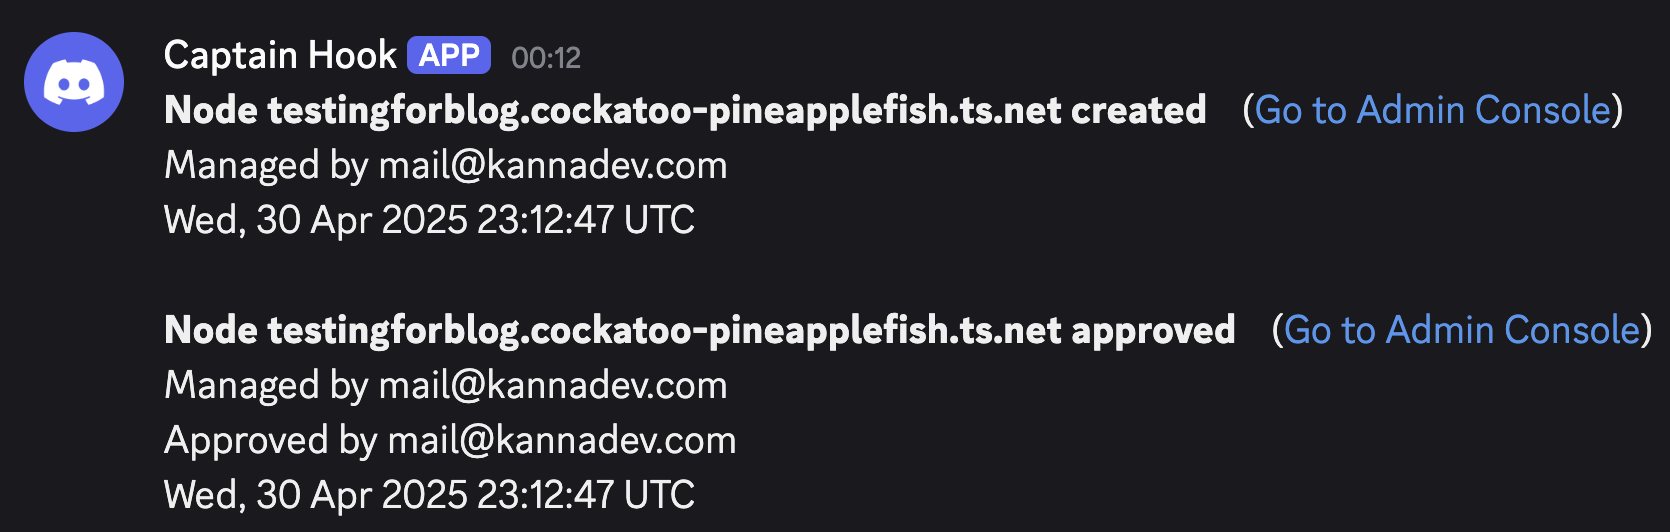
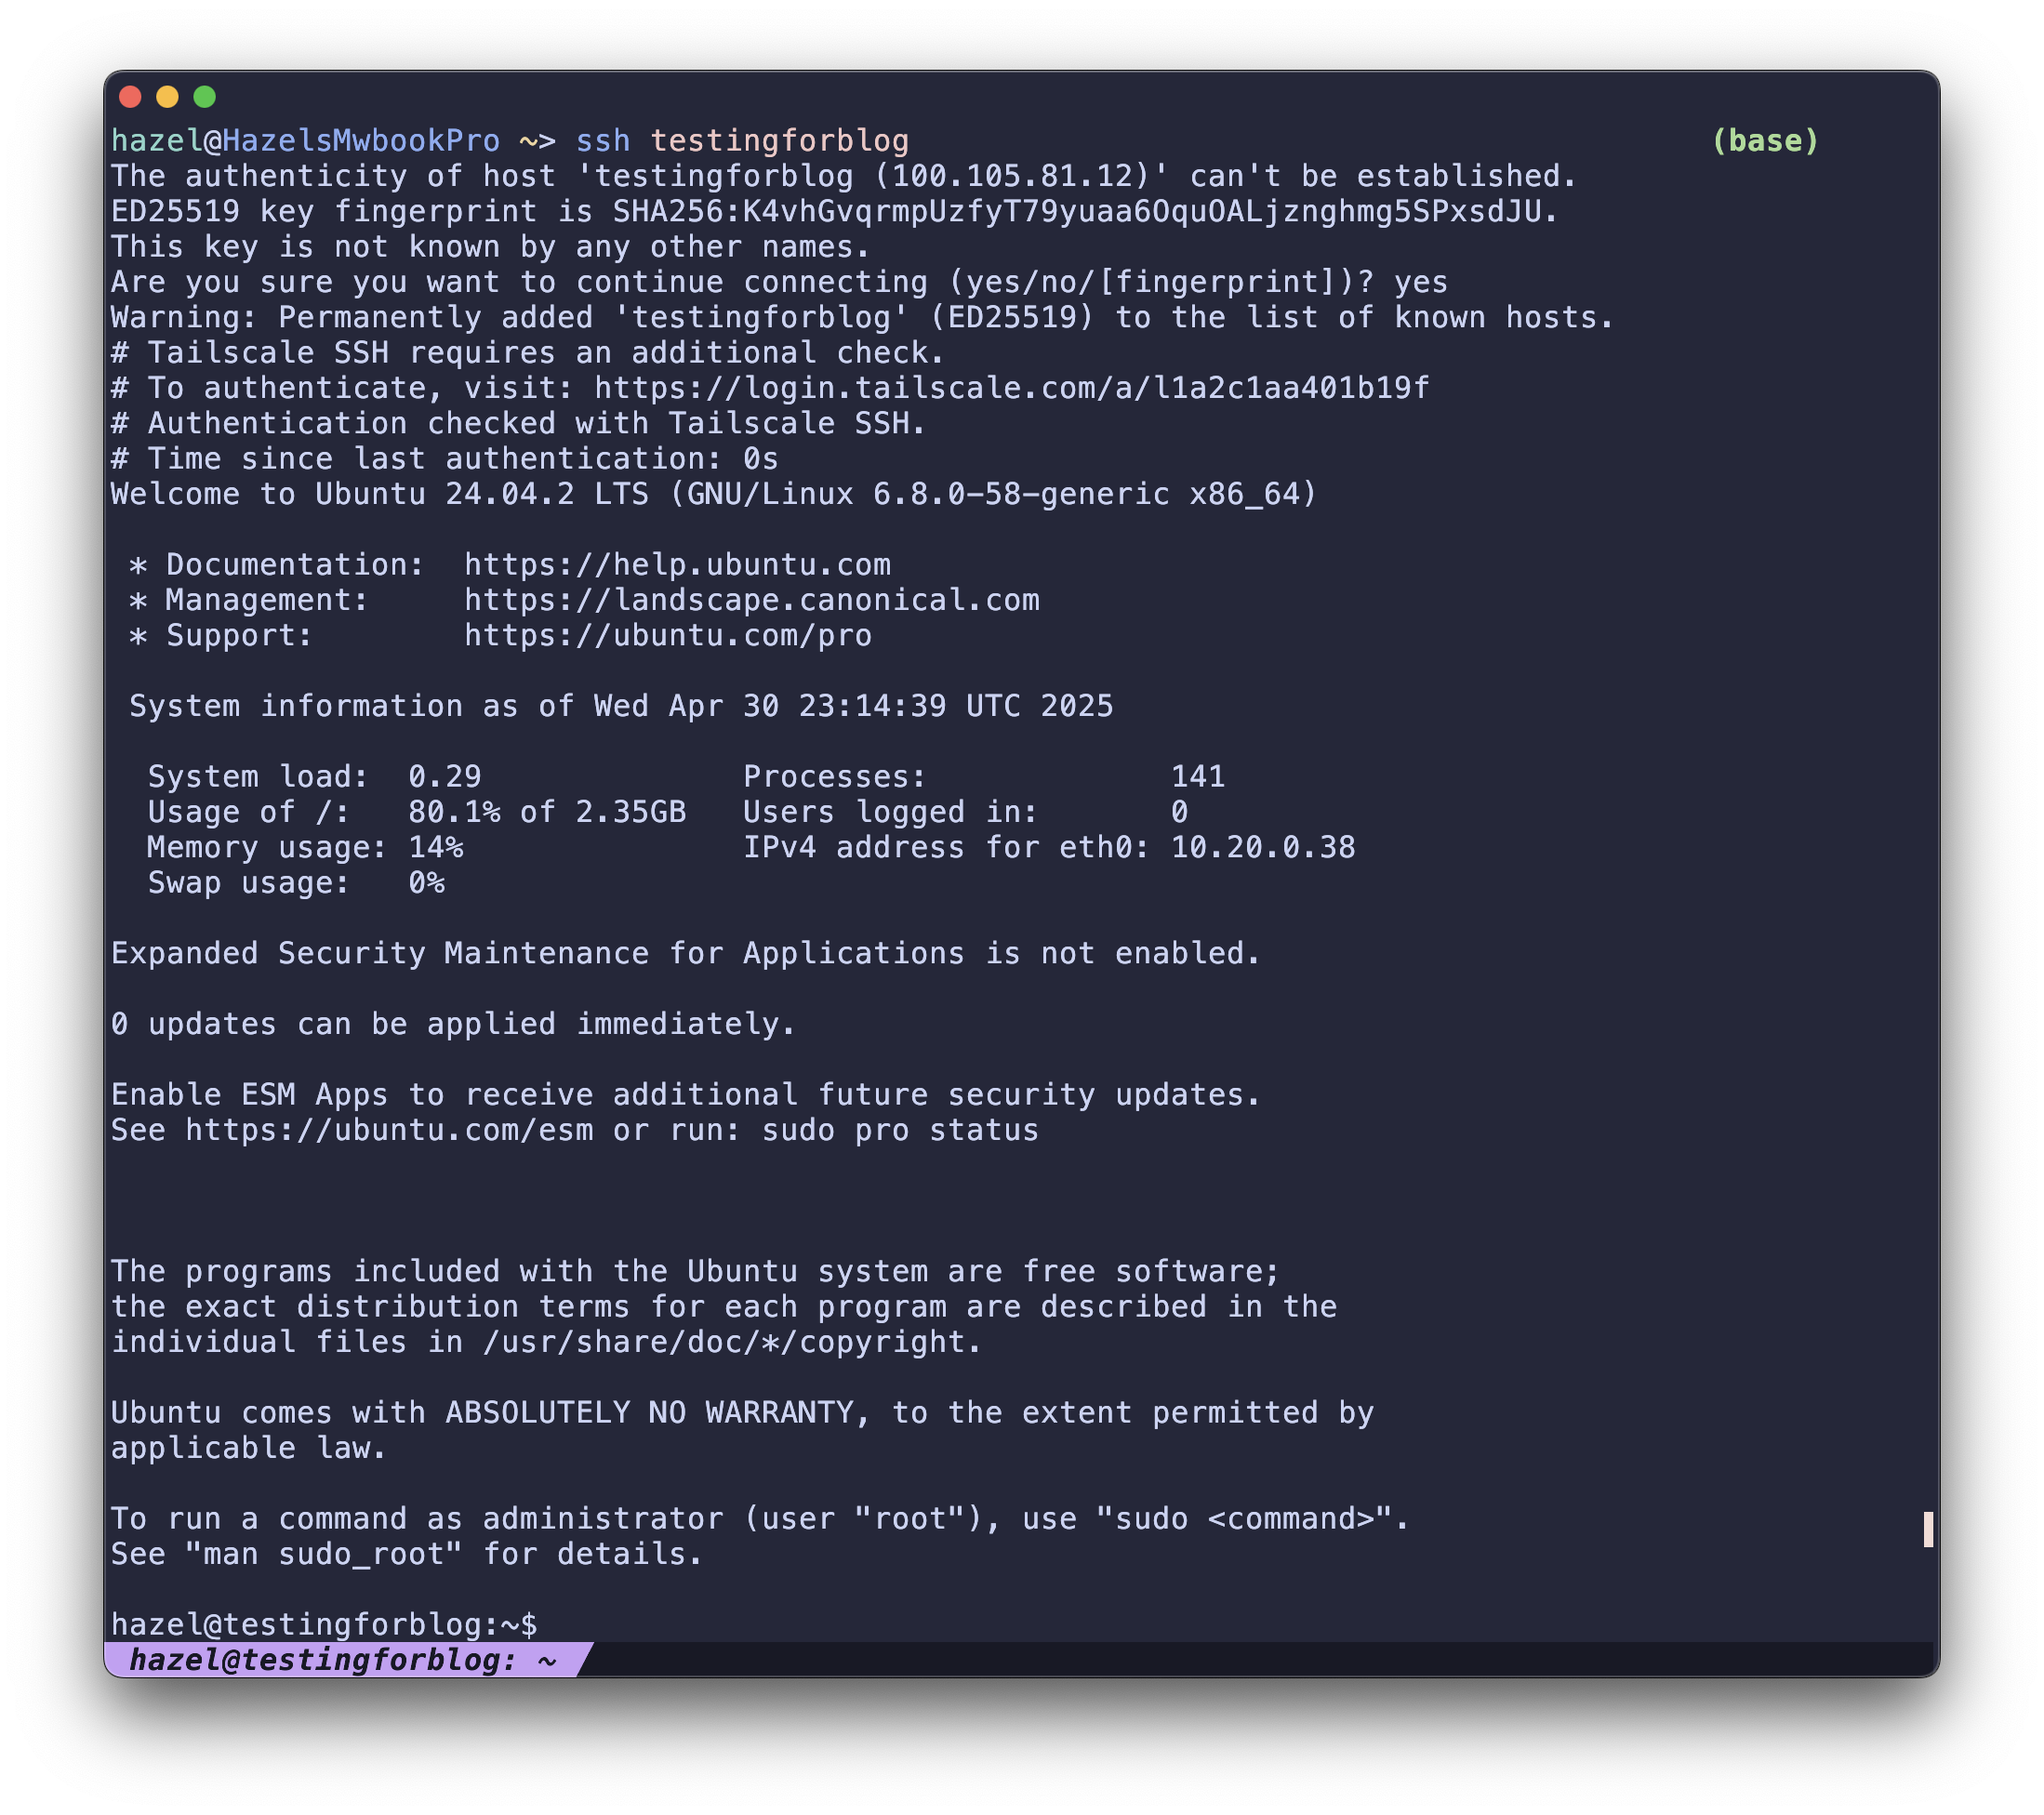
As you can see, it has authenticated with Tailscale and is up! And here is connecting to the host.
Final Notes
While this configuration is very basic, it has a singular function and that is setting up qemu-guest-agent and Tailscale.
Prior to starting the hosts, you should first change the size of disk that they have got, as by default they’ll only have 2.35GB of disk space, with 80% already used — which isn’t practical.
If you’ve been using Proxmox in your homelab, even for a short period of time. You’ll have noticed that it’s very repetitive going through the install process every single time, and can easily take over 15 minutes waiting for it to install, and setup Tailscale.
If you run into any issues, feel free to email me at mail[at]kannadev[dot]com, or in the Tailscale Discord Server!